So here's the story: When I was in grad school in Chicago I worked part time as a cashier at a bakery and got addicted. I didn't just get addicted to all the cookies, pasties, and amazing breads we had, but I got addicted to the smells, the waking up early to have artisan breads waiting for customers as they started their work day, the attention to detail, the living qualities of a great bread, and simply the process of creating something so capable of affecting all the senses. I have to make a disclaimer though - I never did any baking! I just observed our bakers every time I had the chance as I passed through the back of the bakery to get supplies or to clock in and out. Now being a couple years removed from that job, I still have this addiction and decided to do something about it. So here it goes. The plan is to make something for my coworkers every Monday morning. For starters I am going to use Peter Reinhart's Artisan Breads Everyday and see how the recipes work out for me. Eventually, I will branch out and work on some recipes of my own. All comments and suggestions are welcome - and feel free to point out any major mistakes.
Enjoy and Happy Monday!

Tuesday, November 30, 2010

Maple Brown Sugar Bread

Took last week off because of Thanksgiving. I figured everyone else could do the baking for the weekend. So in my free time, I decided to attempt my own recipe and see how it might turn out. So here it goes.
Ingredients:
  • 4 cups all-purpose flour
  • 1/2 teaspoon ground cinnamon
  • 1 cup warm water
  • 1/2 tablespoon kosher salt
  • 1 1/2 teaspoon dry active yeast
  • 1 1/2 tablespoon sugar
  • 1/4 cup milk
Steps:
  1. Combine the flour and cinnamon in a mixing bowl.
  2. Heat the water to 100F and whisk in the yeast, salt, and sugar.
  3. Add the water mixture to the flour and cinnamon and then mix on low/medium for about 1 to 2 minutes.
  4. Add in the milk as necessary to create a smooth, slightly sticky ball of dough while mixing for another 2 to 3 minutes.
  5. Continue mixing until dough is only sticky like gum you have been chewing for a really long time - by that I mean, it will stick to your hands a little bit when you pick it up, but it will easily come off.
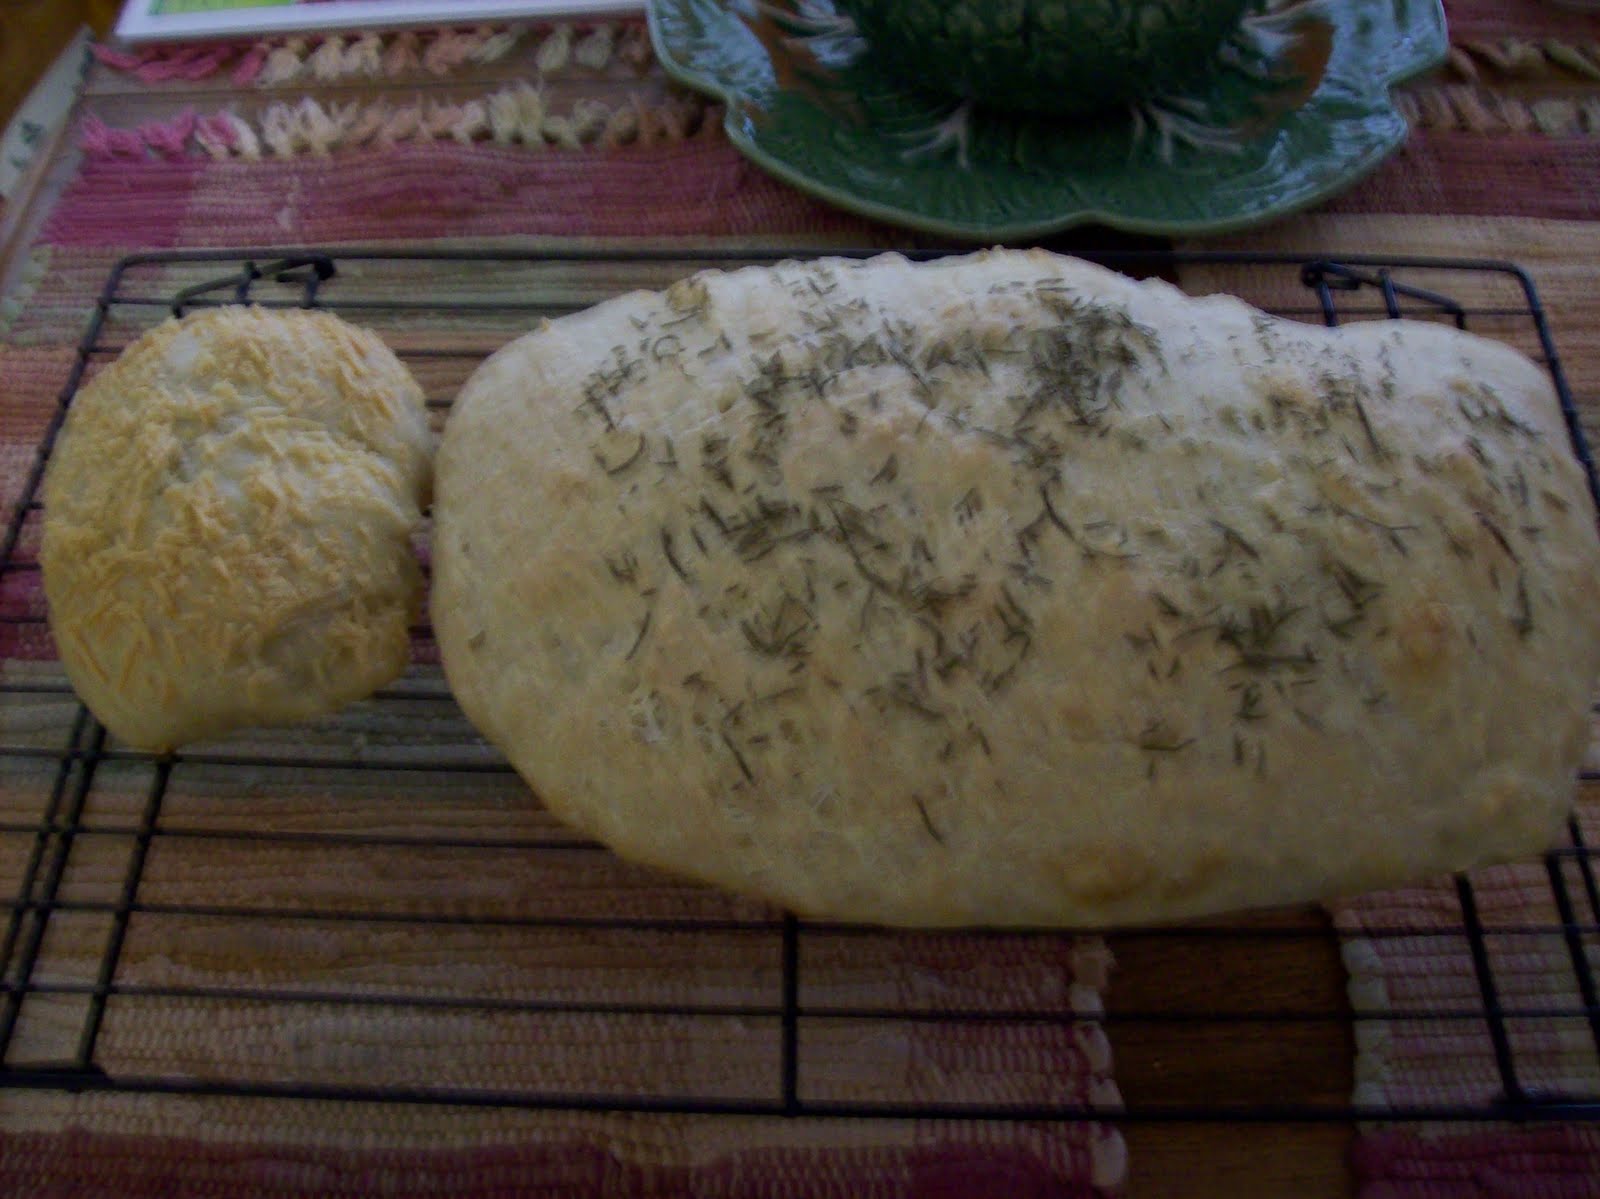
  6. Knead the dough for 10 minutes on a lightly floured surface.
  7. Place the dough in a lightly oiled mixing bowl and cover with a towel. Let dough rise in the covered bowl for 1 hour. It will rise a little bit, but mine have not doubled in size.
  8. Roll out the dough to be as wide as the length of your bread pan and as long as about 1.5 times the length of your bread pan. Then make the maple syrup and brown sugar spread.
  • For the maple syrup and brown sugar spread you will need about 1/4 cup maple syrup and 3/4 cup of brown sugar. Mix them together until you get a thick paste. In the two test loaves I have made so far, the spread has "leaked" out of the bread and created a sort of glaze like feature as in the sticky buns which has been great, but I've been hoping to make it more like a swirl on the inside like a loaf of cinnamon bread. So this step might need some playing with in terms of the ratio of maple syrup to brown sugar.
After making the maple syrup and brown sugar mix, spread it all over the rolled out dough leaving a bit of a border so it won't all squeeze out when you roll the dough into a log. Place the rolled up loaf in a lightly oiled bread pan and let rise for another hour.
Bake at 350 F for about 35 minutes or until golden brown. I like to check and rotate the loaf after about 20 minutes or so.
Let me know if you try it and how it works for you! Enjoy!

Monday, November 15, 2010

Easiest Bread You Will Ever Make

One of the best memories I have from the bakery was grabbing a Ciabatta roll as I walked out the door and then eating it on my bike ride home. The best thing about the Ciabatta was that it was so chewy that it would actually hurt my jaw by the time I was done with it - which was the entire 15 minute bike ride back to my apartment. So I have been super excited to try out Ciabatta for some time now. But I'm kind of a lazy guy and all the Ciabatta recipes I have found have been too involved for me to get motivated to try them out. Until I stumbled upon this one: One Minute Ciabatta Bread.
It is simply the easiest bread you will ever make. Which begs the question, "Why are so many people turned off from making their own bread?" When I first read this recipe (1/4 tspn yeast, 1 tspn salt, 2 cups warm water, 4 cups flour) I thought it was too simple to turn into anything resembling bread. Mostly because all the other recipes I've been reading have been so technical and precise. But then I realized, like most anything else around the kitchen, bread was kind of just discovered by trail and error - and it was a basic staple that even the simplest folks in history could make.
Most breads are derived from simple recipes that were created by people just trying to combine some yeast, flour, and water - and salt usually helped too. So this recipe, although seemingly too simple, turns out to be a great easy-to-make bread.
I don't need to repeat the recipe here, but the process is basically, mix the yeast and water, then add the salt and flour to make a wet batter. Then let it sit for about 8 to 12 hours. I've been using an oiled parchment lined cookie sheet to bake mine. Cover the dough/batter with your favorite herbs or cheese. I've been using some Rosemary that I scored from work and some Asiago cheese left over from the bagels. (The first-try loaves shown here resulted in a momma loaf and baby loaf because it is a little tricky to get the wet dough out of the mixing bowl and onto the cookie sheet - try your best with shaping the loaves, but be careful not to "deflate" the loaves because you want that open crumb for a true Ciabatta) Then pop it all in the oven at 400F for about 25 minutes - mine have been taking a little longer and have been a little doughy/wet for my taste in the center so I think I might crank the temp up a little bit on my next try.
Give it a shot and let me know how it works for you!

Tuesday, November 9, 2010

Cinnamon Rolls and Sticky Buns

Forgive the late entry this week. We had Monday off and I was too lazy to post day one for the Cinnamon Rolls and Sticky Buns, but you didn't miss much. Day one is pretty simple. As simple as just mixing up the dough and then throwing it in the fridge and letting is rise. As I mentioned before, that's what I like so much about the recipes in Artisan Breads Everyday - they are simple and broken apart so that it never seems like too much work.
Day two is a little more involved and time consuming. And when I am waking up in the middle of the night to do the baking, let's just say my attention to detail isn't always as sharp as it should be. This morning I woke up around 2:45 because the dough needs to be shaped and left to proof for two hours before baking. And the slurry for the Sticky Buns needs to be made before the proofing stage. So if you are slow on shaping and making the slurry, you need to add two more hours before you are even going to get it in the oven which can end up making you late to work - especially if you have a 7:30 meeting. For shaping for both, you roll out the dough, cover it with cinnamon sugar, and roll it up into a tight log. Then cut into about 1 inch pieces and either put some in the pan with slurry or to make some fantastically large Cinnamon Rolls, just place the pieces on a cookie sheet to let them expand.
But waking up early is all worth it when the smell of Cinnamon Rolls and Sticky Buns fills the house! My favorite thing about working at the bakery in Chicago was riding my bike in for the opening shift and being able to smell the Cinnamon Rolls about a block away and knowing that was the first thing I was going to eat that morning. So it's pretty awesome to recreate that experience - I just need to leave the windows open and ride around the block I guess.
The only difference between the Cinnamon Rolls and the Sticky Buns is the slurry which the Sticky Buns are baked in. When baking, the slurry caramelizes and creates that fantastic toffee sticky-ness that defines the Sticky Bun. For the Cinnamon Rolls, you just make a simple fondant glaze with
some confectioners sugar and milk. Enjoy!

Wednesday, November 3, 2010

Bagels - Day 2

So ever since I worked at the bakery I have been on a somewhat weird sleeping pattern, never being able to really sleep past 4 or 5 am. Some people think it's crazy, but one of my favorite things is being up in the middle of the night when everything is quite and still. So this morning I was up at 4:15 to pull the bagels out of the fridge to proof - and when I say proof, I basically mean the final resting/rising period for the dough in the fermentation process. This recipe called for the bagels to proof until they pass the float test which you can try after 60 or 90 minutes or so.
The float test is pretty much exactly what it sounds like: when the bagel floats in in cold water, it is ready for poaching and then baking. And as I said before, if you can mix some dough up and boil some water then you can make bagels. The poaching process is boiling up some water and adding honey, salt, and baking soda and then taking the water down to a simmer. After that, you poach the shaped bagels in the simmering water for about a minute on each side. Then place on an oiled parchment lined cookie sheet and bake according to the recipe - here it is about 8 minutes, rotate, another 8 minutes.
Once you get a solid recipe down for your basic plain bagel, have at it in terms of experimenting with different flavors. I've winged it on all the times I've made the Cinnamon Raisin and Asiago Cheese bagels in terms of adding the cinnamon, raisins, and cheese. I've found that the more liberal you are, the better. For Cinnamon Raisin, you add the cinnamon at the first step with the flour and then mix in the raisins as you are mixing the dough until you get a what you are looking for. For Asiago Cheese, you load on the cheese as soon as the bagels are done poaching.
I'll be playing with this recipe over the next couple of weeks and hope to post my own modified recipe for Chocolate Chip Bagels by the end of the month - probably for a batch of 12.

Monday, November 1, 2010

Monday, November 1st: Bagels

I'll admit, I have been trying out some of these recipes for a few weeks now so the first few posts here will hopefully all go over well. Today, I decided to go with bagels, a batch of Cinnamon Raisin and a batch of Asiago Cheese. At first I was intimidated by the idea of making bagels, but if you can make a simple loaf of bread and boil water, then you can make bagels my friend.
Out of respect for Peter Reinhart (and copyright laws), I obviously won't be posting the details of the recipe, but you should seriously consider picking up Peter's books Artisan Breads Everyday or The Bread Baker's Apprentice, both of which are excellent sources of knowledge and tips for making some amazingly awesome breads. I liked the opening of The Bread Baker's Apprentice a bit more, but Artisan Breads Everyday really gets down to brass tacks and give simple to follow directions and explains some basic skills needed for making artisan quality breads in a way that most anyone can understand.
Another great thing about Artisan Breads Everyday is that most of the recipes use slow fermentation or cold fermentation, so almost all the recipes I have made so far have a been a two day process. For me, this has been great because I get all the mixing a prep done on day one, and then on day two I have the fun of waking up early and proofing the dough and then enjoying the great smells and satisfaction that comes from fresh baked breads and pastries.
So today's post is about bagels and how easy they are. Besides the simple ingredients of flour, salt, and yeast, bagels include either honey or malt syrup. I have been using honey and they have turned out great for me. And the simplicity of hydrating the yeast with the salt and honey and then just adding to the flour makes the whole process a breeze.
Side note: anytime I have ever heard of KitchenAid mixers being brought up in conversation, I never hear people say, "Oh, I like my mixer," or "It's okay." They always say, "I LOVE my KitchenAid mixer, I absolutely LOVE it." Seriously, that exact quote like every time. So I finally broke down and bought one and used it for the first time tonight. And holy crap, I LOVE my KitchenAid mixer.

Back to the bagels. Shaping is easily the best part. Reinhart describes two methods, one method is to poke a hole in each divided piece of dough and the other method is to roll out the divided pieces of dough and then wrap them around your hand. Of the two, I have found that the second method produces a bagel with a smooth crust and perfect shape. After shaping, the bagels go in the fridge for up to two days to enjoy the cold fermentation process.
Come back on Wednesday to see day two of bagel making which is when we get to have some real fun and poach them!